Welcome to the weekend, fellow foodies! Please enjoy my latest collection of Kitchen Tips & Tricks!
Next time you oversalt a soup, toss in a few wedges of raw
apple or potato. Simmer for 10 minutes and discard the wedges to get the flavor
back to normal.
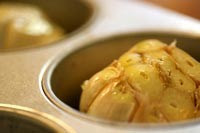
Roasted Garlic
Preheat the oven
to 400°F.
Peel away the
outer layers of the garlic bulb skin, leaving the skins of the individual
cloves intact. Using a knife, cut off 1/4 to a 1/2 inch of the top of cloves,
exposing the individual cloves of garlic.
Place the garlic
heads in a baking pan; muffin pans work well for this purpose. Drizzle a couple
teaspoons of olive oil over each head, using your fingers to make sure the
garlic head is well coated. Cover with aluminum foil. Bake at 400°F for 30-35
minutes, or until the cloves feel soft when pressed.
Allow the garlic
to cool enough so you can touch it without burning yourself. Use a small knife
cut the skin slightly around each clove. Use a cocktail fork or your fingers to
pull or squeeze the roasted garlic cloves out of their skins.
Homemade Heavy Cream
If you ever find yourself needing some heavy cream and can't get to the store, or if you need just a little bit and think the rest of a store-bought pint will spoil before you can finish it, use this easy recipe to make your own.
Combine 2 cups whole milk and one cup melted unsalted butter to create 1 cup heavy cream. :-)
Egg Peeling with a Teaspoon
Crack and gently roll your hard boiled egg. Then open the cracked shell and slip the back end of a teaspoon between the membrane and the egg white. Work the spoon around the egg and the shell comes off easily.
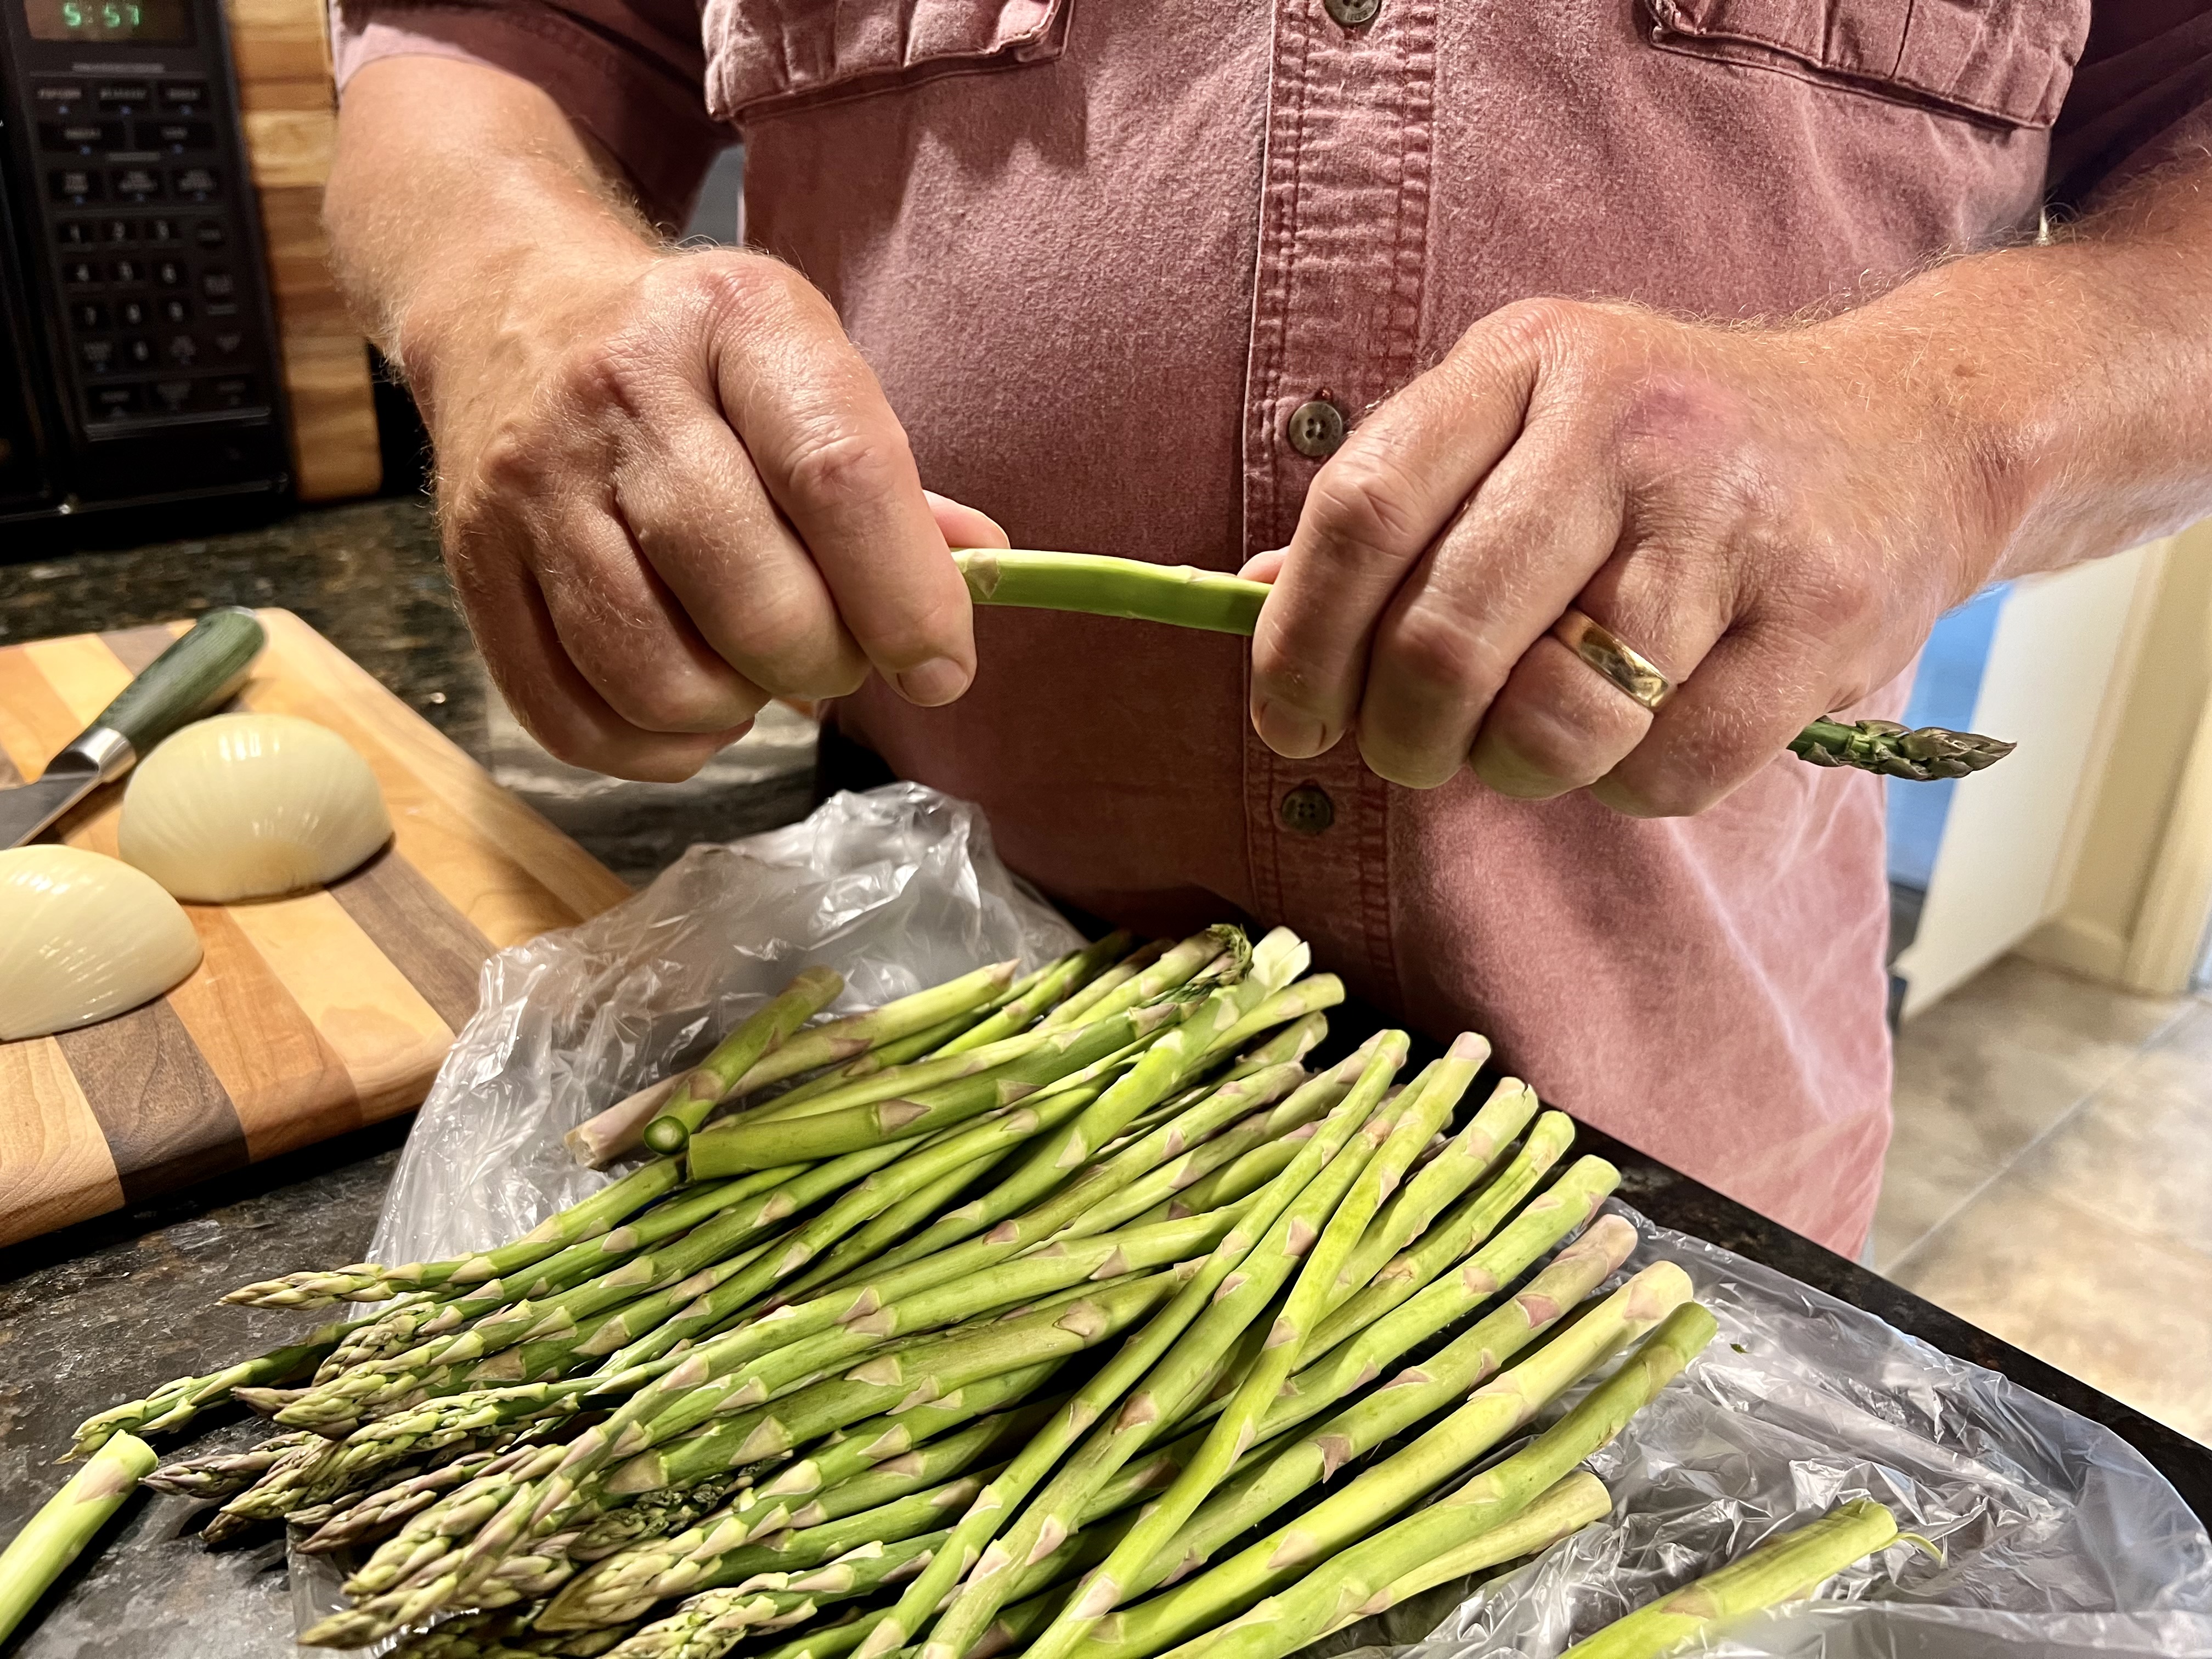
Save a Step when Peeling Veggies
This tip was shared by Patrick Fallon in the Jacques Pepin Fan Club group... and I like it!
When peeling carrots or potatoes, spread a dish towel over your cutting board to collect all the peels. When done, simply gather up the towel and dump the peels in your compost. :-)
It's the Little Things...
Robert Loehrer, also from the Jacques Pepin Fan Club, contributed this information... Thanks, Robert!
Put a damp paper towel under the cutting board to keep it
stable. Always shake seasonings into your hand then rain it onto the food and
not directly into the food to control the amount going in, if you've ever had
the top come off or used the wrong opening, you know.
Have a great week, everyone, and thank you for your support!
Blessed be… and happy cooking!
Chef Michael R


.jpg)
.jpg)
.jpg)


